Making your own dog treats using silicone molds is a fun, rewarding way to show your furry friend how much you care. Not only can you control the ingredients and ensure they’re healthy, but the creative shapes add an extra touch of love. Plus, it’s often more economical than buying pre-made treats. This article will guide you through everything you need to know about creating delicious and healthy dog treats using silicone molds, from choosing the right ingredients to getting those perfect paw-shaped goodies.
Choosing the Right Ingredients for Your Homemade Dog Treats
When making treats for your canine companion, quality ingredients are key. Stick to whole, natural foods that you recognize. Some excellent options include lean proteins like chicken or beef, wholesome grains like oats or brown rice, and dog-friendly fruits and vegetables such as pumpkin, sweet potato, or blueberries. Avoid artificial sweeteners, colors, and preservatives, as well as ingredients known to be toxic to dogs, like chocolate, grapes, and raisins. Always consult with your veterinarian if you have any concerns about specific ingredients.
Selecting the Perfect Silicone Mold
Silicone molds offer a fantastic variety of shapes and sizes for your dog treats. Look for molds made from food-grade silicone that are BPA-free and heat-resistant. Fun shapes like bones, paws, and hearts make the treats even more appealing. Before using a new mold, wash it thoroughly with soap and water.
Simple and Delicious Dog Treat Recipes for Silicone Molds
Here are a few easy recipes to get you started:
Peanut Butter and Banana Bites
- 1 cup rolled oats
- 1 ripe banana, mashed
- 2 tablespoons peanut butter (xylitol-free)
- ½ cup water
Mix all ingredients in a bowl until well combined. Spoon the mixture into your silicone molds and bake at 350°F for 15-20 minutes, or until golden brown.
Chicken and Sweet Potato Chews
- 1 cup cooked chicken, shredded
- 1 cup cooked sweet potato, mashed
- ½ cup oat flour
Combine all ingredients and mix well. Press the mixture into your silicone molds and bake at 350°F for 20-25 minutes. Let the treats cool completely before removing from the molds.
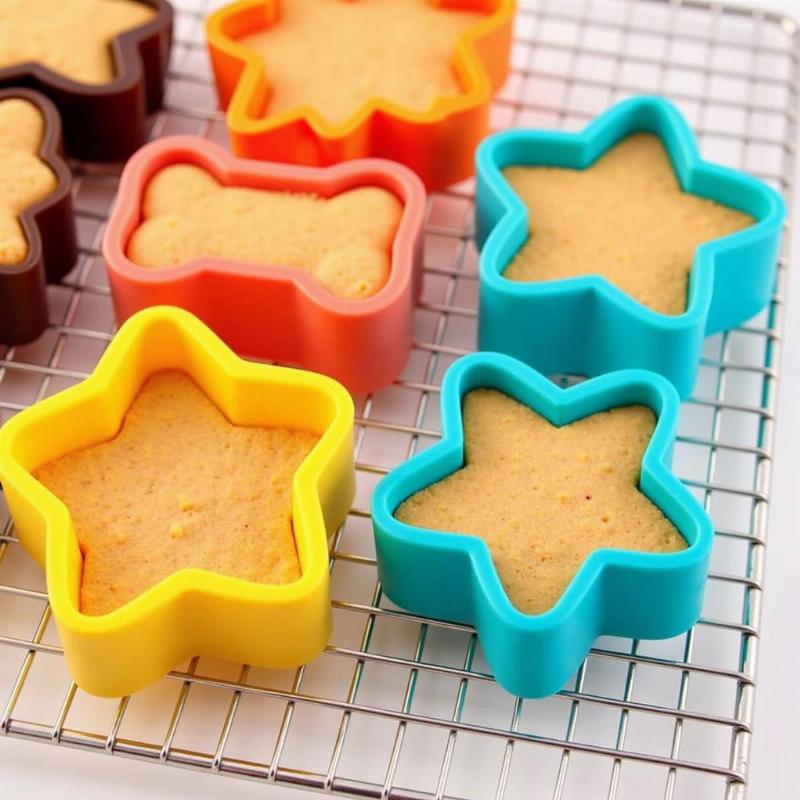
![]() Baked Dog Treats in Silicone Molds
Baked Dog Treats in Silicone Molds
Tips and Tricks for Perfect Dog Treats
- For frozen treats, simply pour your mixture into the molds and freeze for a few hours.
- To prevent sticking, lightly grease your molds with coconut oil or cooking spray before filling.
- Store homemade dog treats in an airtight container in the refrigerator for up to a week, or freeze for longer storage.
Conclusion
Making dog treats using silicone molds is a simple and enjoyable project that benefits both you and your furry friend. By following these tips and using quality ingredients, you can create healthy, delicious, and fun treats that your dog will love. So, gather your ingredients, choose your favorite silicone molds, and start baking!
FAQ
- Can I use any type of silicone mold? Use food-grade, BPA-free silicone molds that are heat-resistant.
- How long do homemade dog treats last? Store in the refrigerator for up to a week or freeze for longer storage.
- What if my dog has allergies? Consult your veterinarian for ingredient recommendations.
- Can I make frozen dog treats with silicone molds? Absolutely! Pour your mixture in and freeze for a few hours.
- How do I prevent treats from sticking to the mold? Lightly grease the molds with coconut oil or cooking spray.
Related Articles
Beautdogs.us is your premier online resource for all things dog-related in the US. We offer expert advice on dog breeds, care, and products, providing a trusted source of information for both new and experienced dog owners. From finding the perfect breed to ensuring their well-being, Beautdogs.us is here to help you navigate the wonderful world of dog ownership. Contact us at [email protected] or +1 501-555-7529.
